

PAS Pedal Assist Sensor for E-Bike Conversion Kits

Description
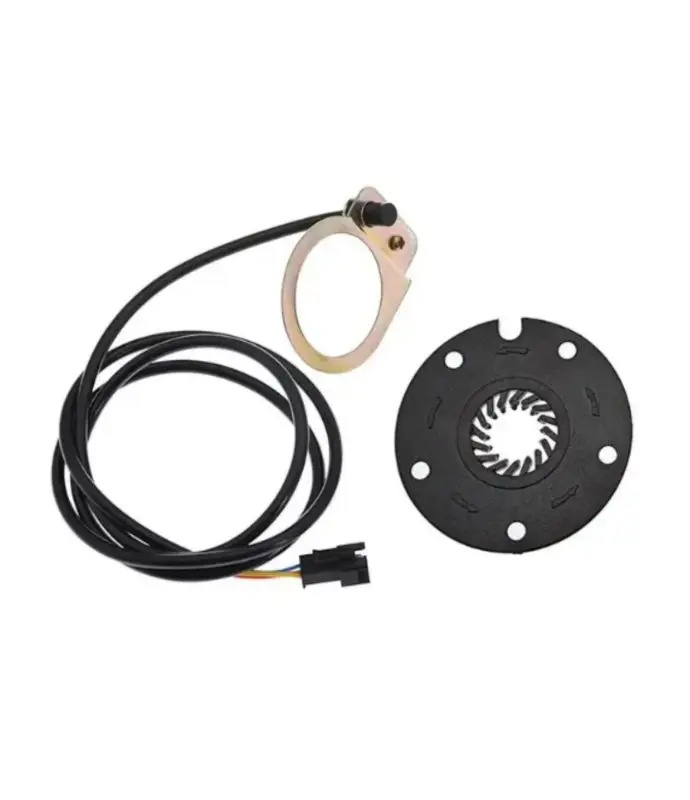
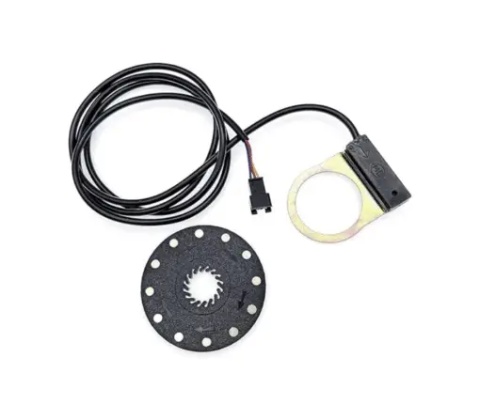
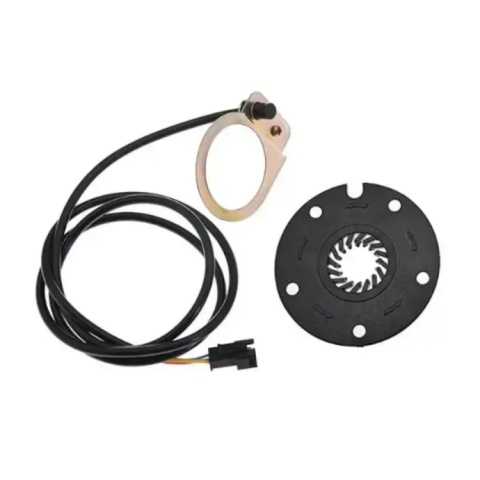
12-Magnet PAS Sensor for Electric Bikes – Split Disc Cadence Sensor for eBike Conversion Kits
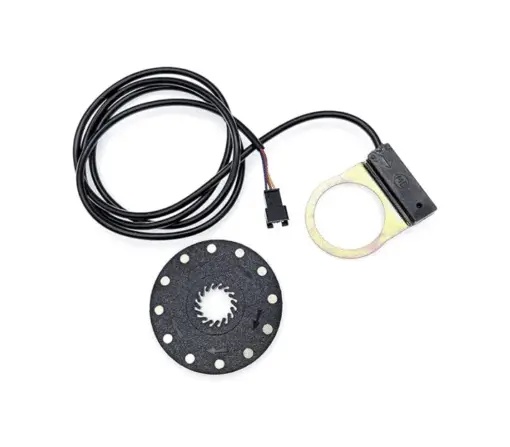
Cadence PAS (Pedal Assist Sensor) with 12 magnets and split disc — the standard component included in All4eBikes MTX conversion kits. Detects pedal movement at approximately 15 degrees of rotation and sends a signal to the controller to engage motor assistance. Split disc: no crank removal required for installation. 1.2m cable, 3-pin connector, compatible with all UART controllers in the All4eBikes range.
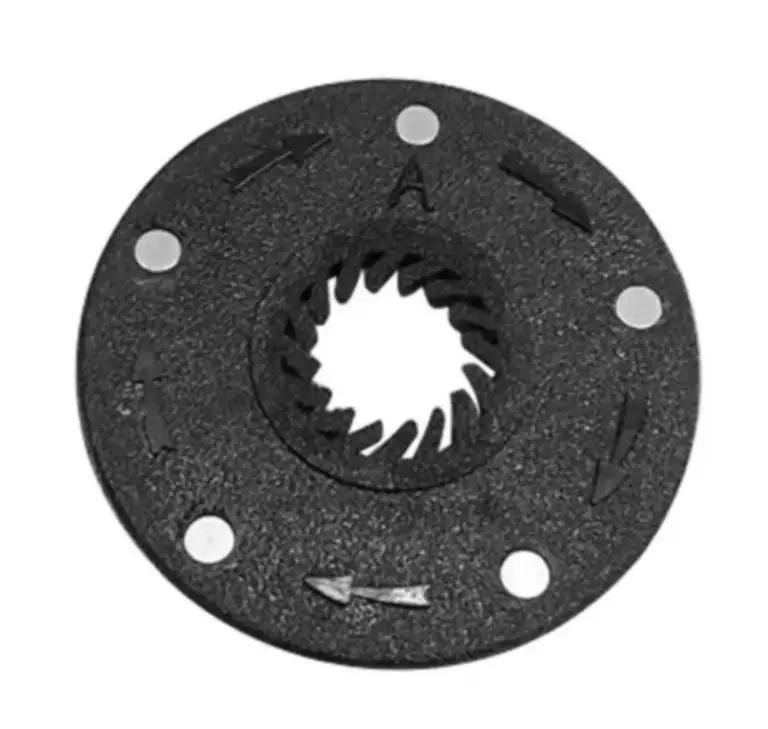
The cadence PAS sensor is the dominant type in conversion kits — simpler, more robust and easier to replace than torque sensors. It works by detecting the rotation step of the crankset: the 12-magnet disc mounted on the bottom bracket axle passes the sensor head fixed to the seat tube, generating pulses that the controller interprets as a pedalling signal. With 12 magnets, the sensor detects movement after approximately 15 degrees of rotation — significantly faster response than 5 or 8-magnet sensors.
12-Magnet PAS Sensor Technical Specifications
Technical Parameters
Compatibility
Compatible Kits
Why 12 magnets and not 5 or 8
The number of magnets determines how quickly the motor responds when you start pedalling. With 5 magnets, the motor engages after 30–40 degrees of rotation — noticeable as an initial lag. With 12 magnets, response reduces to approximately 15 degrees — almost immediate. At the same pedalling speed, the 12-magnet sensor generates 2.4 times more pulses per second, providing a more stable and precise signal to the controller.
Split disc — installation without removing the crankset
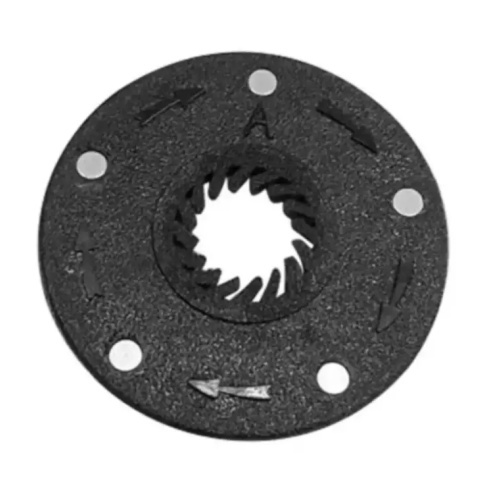
The magnet disc comes in two halves that clip around the bottom bracket axle without removing the crank arm or crankset. Installation takes 10–15 minutes with standard tools (screwdriver, zip-tie pliers). The sensor head is fixed to the seat tube with the included plastic zip ties, at 1–3mm from the magnet disc for optimal detection.
LED indicator — visual signal confirmation
The sensor head has a built-in LED that flashes each time a magnet passes. This allows quick field verification: if the LED flashes regularly when pedalling, the sensor is detecting correctly. Note: the LED being lit does not guarantee correct wiring — also check the wire order at the connector (GND / VCC / signal).
What It's Recommended For
Failed Sensor Replacement
A direct replacement for the PAS sensor in any All4eBikes MTX conversion kit 250W–3000W — same 3-pin connector, same protocol.
Upgrade from 5 to 12 Magnets
A quick upgrade for existing systems with a 5 or 8-magnet sensor — faster motor response at the start of pedalling, more stable signal at low speeds.
DIY eBike Builds
An essential component for any DIY build with a UART controller from the eBike parts range — compatible with all 17A–60A controllers.
Installation and Troubleshooting
Installation Steps
- Clip the two disc halves around the bottom bracket axle
- Fix the sensor head to the seat tube with the included zip ties
- Adjust the sensor-to-magnet gap to 1–3mm
- Connect the 3-pin cable to the PAS port on the controller
- Check the sensor LED when pedalling before first ride
- If the motor engages when pedalling backwards, flip the magnet disc
Common Troubleshooting
- Motor does not engage when pedalling — check sensor-to-magnet gap (max 3mm)
- Delayed assist — gap too large or magnets misaligned
- LED does not flash — check wire order at connector (GND / VCC / signal)
- Motor engages when pedalling backwards — flip the magnet disc
- Inconsistent assist — check that the disc does not vibrate when pedalling